Getting Started
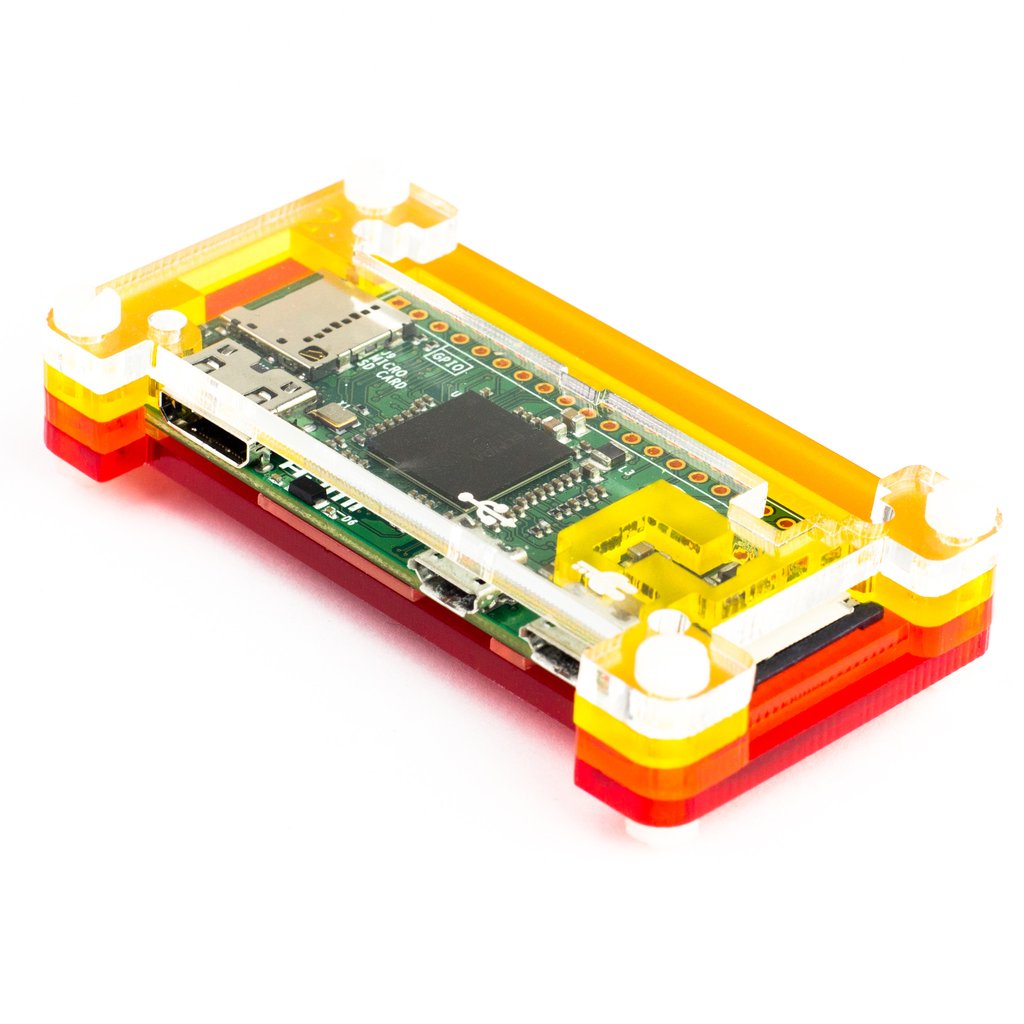
Thanks to Graham Weldon, I recently got a Raspberry Pi Zero W to play around with. Having installed Debian on my Beagle Bone Black, naturally I wanted to install it on this box too.
I primarily followed the instructions from the RaspberryPi.org.
Installing the Base Image
Because the Raspberry Pi Zero is not an officially supported Debian platform, I stuck with the Raspbian distro. I used the Raspbian Stretch Lite base image to keep it minimal. I looked into DietPi, but it was more focused on embedded systems and at this point I’m just looking for low-power servers that are closer to stock Debian.
I flashed the image onto a 32 gig microSD card with Etcher for OSX.
With my microSD card ready I plugged in my mini-HDMI adapter and HDMI cable, a micro-B OTG USB hub and a USB keyboard and USB ethernet cable and booted into Raspbian.
Configuring Raspbian
The default user/password combination on Raspbian is pi and raspberry, which you’ll want to immediately change with passwd. I created the .ssh directory to hold my credentials later.
mkdir .ssh
I then used the built-in raspi-config command to enable SSH and to configure the hostname, wifi, timezone and locale.n
sudo raspi-config
I then copied over my SSH key so I wouldn’t need to use my password when logging in.
scp ~/.ssh/id_rsa.pub pi@10.0.0.3:~/.ssh/authorized_keys
ssh pi@10.0.0.3
sudo su -
root
Now that I was able to SSH over and sudo to root, there were a few final steps. Raspbian has the swap configured, which isn’t very useful on a system booting off an SD card.
dphys-swapfile swapoff
dphys-swapfile uninstall
update-rc.d dphys-swapfile remove
To ensure the latest versions of the base install:
apt-get update
apt-get upgrade
Then I rebooted the box and unplugged the ethernet, video, and keyboard. It was now on my network via wifi and ready to be remotely administered.