UPDATED: I’ve corrected a few small typos and added a few more post-upgrade notes based off reader feedback.
Apple laptops are somewhat notoriously resistant to upgrades. The SSDs used by MacBook Air and MacBook Pros shipped between 2013-2017 used a proprietary adapter. Relatively recently (10.13) it became possible to upgrade these systems with an aftermarket adapter and stock NVMe M.2 form factor SSDs. There is an amazingly thorough thread on this, but I figured I’d post my experiences upgrading 4 of my laptops that I’ve upgraded so far. Go read at least the first page of that thread if you have questions I don’t answer, there are 220 pages of feedback so far. The first post is regularly updated with feedback on different SSDs and benchmarks, so go read that at least.
The total cost was under $90 USD each for upgrading to 500 gigagbyte drives.
Laptop Models
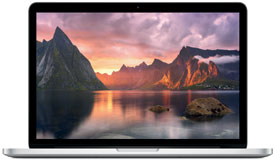
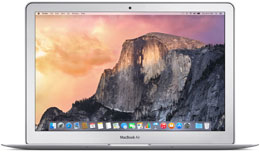
Take the time to figure out exactly which model you have before getting starting. EveryMac.com has thorough descriptions of each model, use About This Mac->System Report to gather up all the details of your system. These are the 4 machines I updated, named for Futurama characters (Bender and Flexo are the same model).
Equipment
Make sure you have the right equipment for performing the upgrade. The iFixit Mac Laptop Repair guides provide excellent step by step instructions for SSD replacements specific to each model. You will need the following equipment:
- P5 Pentalobe and T5 Torx screwdrivers. I bought a Smart Phone Repair Kit here in Australia, you may want something similar from Amazon.
- Compressed air for cleaning out dust from the laptop’s internals
- Isopryl alcohol for cleaning the aluminum laptop case
- Heat resistant Kapton/Tesa/Sellotape insulation tape
NVMe M.2 SSDs & Adapter
There are a lot of options for which SSD to purchase, the general consensus from the MacRumors thread was that the Sabrent Rocket and Adata XPG SX8200 models provide the best price/performance results. If you have certain models you may benefit from a faster SSD because of the PCIe 3.0 x4, but most of the models are limited by PCIe 2.0 x4 giving them a theoretical limit around 2,000 MB/second (results from the thread rarely get above 1500 MB/s with 13” models. Larger drives (1TB) appear to be a bit faster, I didn’t see much need to go beyond 512 gigabytes of storage and wanted to keep it relatively inexpensive. I used 4 of the Adata XPG SX8200 Pro 512GB 3D NAND NVMe Gen3x4 PCIe M.2 2280 Solid State Drive, but would consider the Sabrent 512GB Rocket NVMe PCIe M.2 2280 Internal SSD.
The Sintech NVMe M.2 adapter is considered to be the best and you can get them directly from Amazon.
Installation Steps
Once you have your parts in hand, here are the steps I followed to upgrade my systems to the latest version of macOS 10.15 ‘Catalina’ with new SSDs.
- Create a bootable USB macOS Catalina disk
- Back up the machine with an external Time Machine drive. Make sure you have everything crucial backed up and saved before progressing.
- Before removing the original hard drive, do a complete upgrade of the macOS operating system to the latest version available (currently 10.15.1) to ensure that any firmware updates available to your machine are applied. This is especially important if you’re upgrading from 10.13 or earlier releases. This page lists the latest currently available firmware for each model.
- After all the upgrades have been applied, shut down your Mac and follow the relevant iFixit Mac Laptop Repair guide for removing the SSD from your laptop. Be careful not to strip the P5 and T5 screws.
- With the case open, take the time to clean it with the compressed air and isopryl alcohol, it’s filthy in there.
- Attach your new SSD to the Sintech adapter and place a small strip of the Kaptop insulation tape across the adapter, as seen here.
- Gently insert the new SSD and screw it into the motherboard without overtightening.
- Close up the laptop case, reversing the steps from the iFixit guide.
Configuring the Drive and Installing the Operating System
At this point you should be ready to perform a fresh installation of macOS 10.15.
- Insert your bootable USB stick into the Mac and hold down the Option key while it boots. Select the ‘Install macOS Catalina’ disk.
- Choose the Disk Utility, find your new SSD and format it APFS with a GUID Partition Map.
- Proceed with the macOS installation. You may restore your previous installation from your Time Machine backup if you want, I usually do a fresh install.
- After completing the install, make sure you have all the latest macOS patches applied.
- Go to System Preferences and select Startup Disk. Unlock for changes, then select the drive from the list and restart.
- If you have one of the 2013-2014 laptops they will not properly wake from hibernation and you will need to disable it in the terminal with the commands
sudo pmset -a hibernatemode 0 standby 0 autopoweroff 0
Results
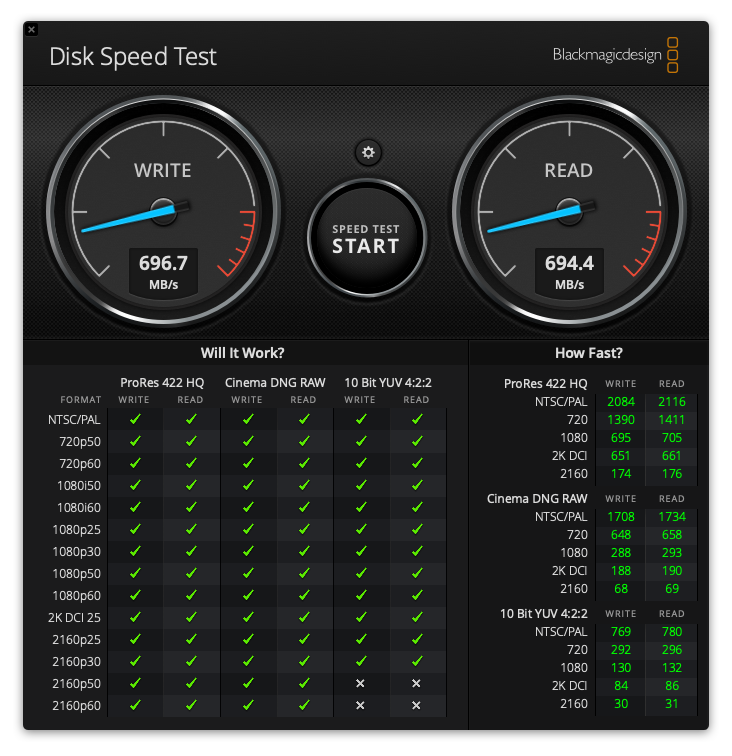
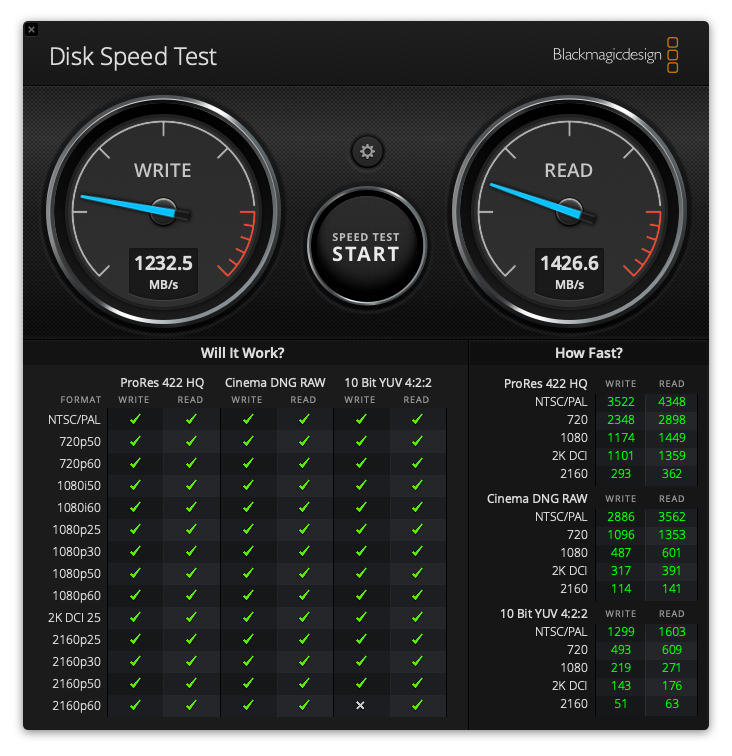
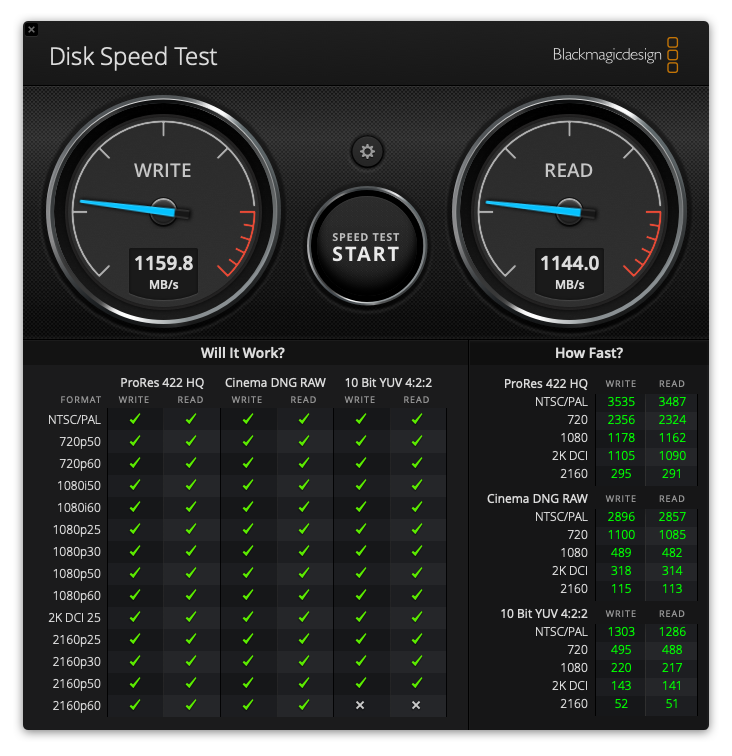
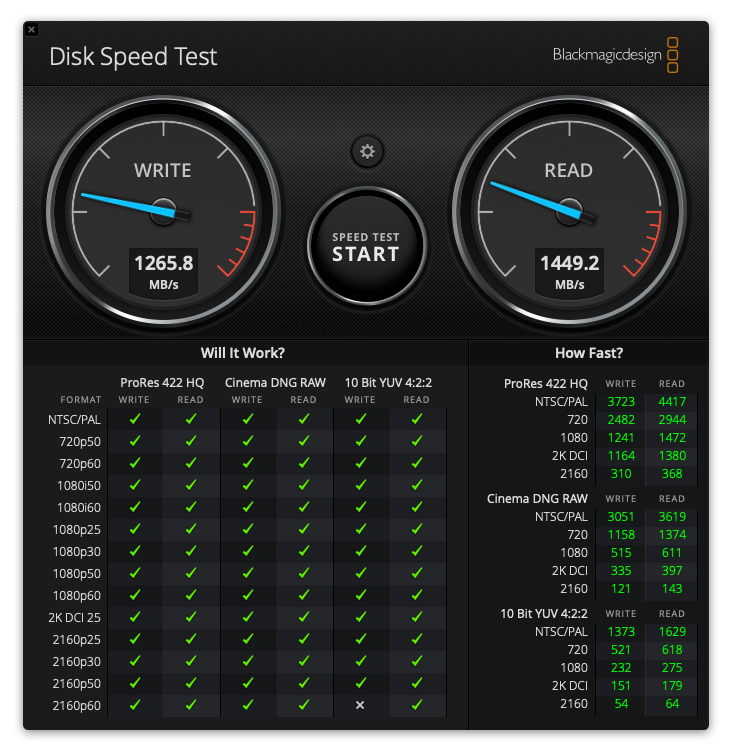
The upgraded SSDs are noticeably faster and have much more storage than the drives they replaced (128 and 256 gigabytes). The machines have been stable and battery life isn’t noticeably different (the batteries were already 50% capacity) even though hibernation is disabled on Farnsworth. Here are the before and after benchmarks from Blackmagic Disk Speed Test:
Farnsworth: MacBookPro11,1 (Mid 2014, Retina 13-inch)
| Original Speed | Upgraded Speed |
|---|---|
 |
 |
Bender/Flexo: MacBook Air (13-inch, Early 2015)
| Original Speed | Upgraded Speed |
|---|---|
 |
 |
Reusing the Apple SSDs
I no longer recommend the OWC Envoy Pro enclosures for the removed SSDs, they are expensive and not very reliable. They are really only useful for emergency recoveries.
